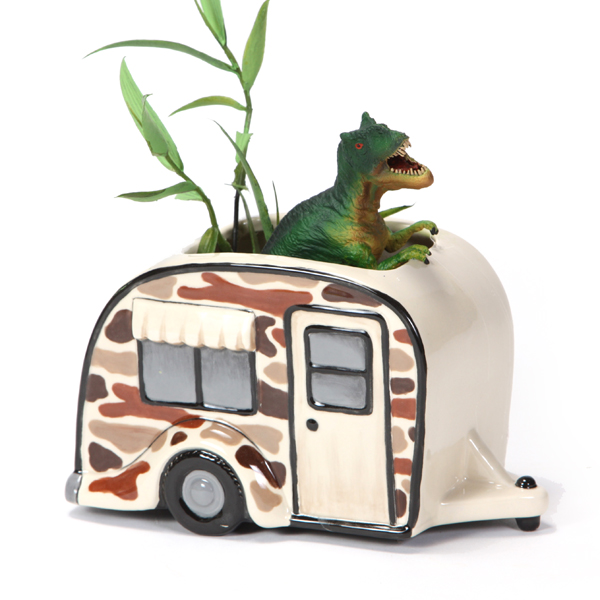
Camo Camper
VIEWDESCRIPTION
Instructions
- Begin with properly fired cone 04 bisque. Moisten a sponge and wipe bisque to remove any dust.
- Using the Soft Fan and Script Liner with SC-54 Vanilla Dip, apply 2 coats to the body, door and awnings of the camper. Allow glaze to dry between coats.
- Using the pencil, sketch a camo pattern onto the front and back sides of the camper. It should be irregular, rounded shapes that fit into each other like puzzle pieces. You will want to leave a small gap between each shape.
- Using the Script Liner with SC-34 Down to Earth, SC-48 Camel Back and SC-92 Cafe Ole, apply 2 coats to each piece in the camo pattern. Use each color randomly.
- Using the Script Liner with SC-35 Gray Hare, apply 2 coats to the windows. Allow glaze to dry between coats. Apply another coat and shade with SC-15 Tuxedo.
- Using the Script Liner with SC-35 Gray Hare, apply 2 coats to the hubcaps and bumper of the camper. Allow glaze to dry between coats.
- Using the Script Liner with SC-15 Tuxedo, apply 2 coats to the tires and underside of the camper. Allow glaze to dry between coasts.
- Using the Detail Liner with SC-15 Tuxedo, outline the details on the camper.
- Using the Soft Fan, apply 2 coats of S-2101 Clear Brushing Glaze or dip into NT-CLR Clear Dipping Glaze.
- Fire to cone 06.
Secure Payments
Delivery & Return
Ask a Question
Share
Related Products
View All
